Showing posts with label roof. Show all posts

Sunday, July 4, 2010

Preping for for solar hot water

There is now a second pipe through the left-side roof close to the ridge allowing for the solar lines to connect to the panel which will be mounted on the other side of the roof (the sunny side)

Looking up through the pipe

The flexible lines in place before we put the pipe through

Its come a little late in the process but we have determined that we can and will be installing a solar hot water panel on the roof.

In order to be prepared for this we needed to put another hole through the roof to allow passage of the supply and return copper lines to go from inside the house out to the panel mounted on the roof.

The lines pass down from the roof through the walls of the 2nd and 1st walls to the basement where we'll eventually connect them to a hot water storage tank.

Sunday, January 17, 2010

Double walls and suspended roof

The green gussets show the secondary roof hanging off the original roof rafters

Another view of rafters with gussets to secondary roof
that acts sort of like a suspended ceiling that will
eventually be filled with cellulose insulation


A close up of roof system

Last week Joe and I finished building in the secondary, or double, walls and roof in the house.

The purpose of this work is to create a 12" deep wall and 21" roof cavity along all the exterior surfaces of the house. The photos show these being built, but I wonder if the concept is clear. Imagine you built a wall stood it up and called it good. In this case you then build another wall exactly the same size and stood it up a few inches apart from the first so that the total depth of the wall is 12" from one side to the other. The same thing is happening at the roof except in this case the second "wall" is a ceiling being hung off the original rafters to create a total depth of 21" from outer surface to inner, once the sheetrock is in place.

Once all the plumbing and electrical work is done, well then staple into all the interior wall and roof framing a retaining fabric that will hold in the cellulose insulation that will fill these walls and roof bays.

The whole point here is to reach our R-value insulation goals. Dense packed cellulose has a R-value of 3.8 R per inch, so with a 12" thick wall we'll have a calulated R-value of 45.6. The roof, at 21" will have an R-value of 79.8.

A secondary benefit of building the walls and roof this way is that there is very little physical contact between the outside and inner walls and roof. This means there is very little opportunity for thermal bridging between the two (thermal bridging is cold moving in pathways from the outside to the inside. In typical construction, the 2x4's or 2x6's in the wall are thermal bridges for the outside to the inside.) The green straps in the photos are connecting gussets between the inner and outer walls and are the only point of connection between the inner and outer surfaces.

Another advantage of this way of building is that we do not have to drill through the studs in the walls to run the electrical cable or water lines as is typical in standard construction.

Wednesday, January 6, 2010

New Year


Yes, things are happening in the house after a nice holiday break.

The roofers completed the last of their work a few days after Christmas on a breezy morning when the temperature was, if I remember correctly, around 10. It looks great and we are glad to have that part of the project wrapped up.

After some satisfying time off, both Joe and I got back to work on Monday building the secondary interior walls. The result is to make our current 5 1/2" deep walls effectively in to 12" deep walls. This requires making walls that parallel the existing walls and are attached at the top, bottom, and at various points between. Hopefully the photos show this better then I can describe it.

The point of this work is that when we insulate the house with the blown-in cellulose, there will be a full 12" of insulation thickness. It used to be that 3 1/2" was considered acceptable and nowadays 5 1/2" is considered good.

In our situation, the two walls have minimal connection, so there is very little thermal bridging from the outside to the inside. In conventional walls the studs create direct thermal bridges from the outside to the inside--the cold passes through the exterior sheathing to the wooden stud and then to the sheetrock on the inside. Our wall system puts cellulose insulation between the outside wall and the interior sheetrock. Breaking that connection is the major advantage of this method while allowing lots of space for insulative fill.

I think we'll wrap up the first floor tomorrow and move upstairs on Friday.

Wednesday, December 23, 2009

The Standing Seam Roof


This morning the crew from Iron Horse Roofing showed up and began work installing the standing seam roof. Standing seam roofs are top-notch and last for decades and are particularly abundant here in Vermont. To get a longer lasting roof, you'd probably have to have a slate roof.

Just like it looks like in the photos, the roof consists of a series of long pieces of sheet metal with the edges on each side bent up to form a sort of very low wall on either side that lays up against the next piece that is shaped the same way. The mated edges from the paired up sheets are then rolled over to lock them into place, sort of like you'd see with two pieces of fabric that have been paired up, rolled over and then sewn together.

The company warned us that the crew would be showing up weather dependent. Well, this morning it was flurrying and the temperature was hovering roughly around 10 degrees. We wondered if they'd be coming, but lo and behold, they did. I thought later in the day, what would the weather have to have been doing to keep them away?

They may or may not be back tomorrow, but in either case will be back at the beginning of next week to finish the job off. It looks great so far.

Its going to be interesting to watch the snow careen off the roof the next time there is a snow storm.

Thursday, December 17, 2009

Root Cellar


Today we wrapped up a couple of day's work with me building the door and Joe building the shelves for the root cellar. Previous to this we insulated the shared walls between the basement and the root cellar to isolate the warmth of the basement, such as it is, from the root cellar.

I'm quite happy with the both the door and the shelves. My inspiration for the door was the typical design of a walk-in refrigeration unit such as you'd see in the back rooms of a restaurant or supermarket. They are big insulated doors which have a really wide flange around the perimeter of the door that mates with the outside wall when the door is closed. We installed the door and it worked smoothly; when you are in the root cellar you see nary an inkling of light, so it seems to seal pretty well. With a couple more tweaks it'll be just right.

Joe's shelves are beautifully crafted,industrial strength, and sized nicely for the various canned goods we will be storing. At this point we have shelves on two sides of the root cellar with room for more should we decide at some point we need more storage space.

I'll build a sliding latch for the door at some point, but for now I'm just glad we have a functioning root cellar that allows us to finally store our various goods such as saurkraut, olives, canned tomatoes, ketchups, chutneys, carrots, beets, cabbage, potatoes, celariac, and many other goodies. It is a treat to finally have the root cellar in operation. The temperature in there this evening was 37 degrees. The temperature outside is hovering just around zero. Fun.

Oh yes, we also put in the door on the west end of the house facing the garden. It looks great with the funky green color we've chosen and it sure beats the plastic tarp we were getting by with.

The wood stove has proved to be a godsend. With very low temperatures it makes working in the house bearable, if not quite pleasant if we get it really fired up.

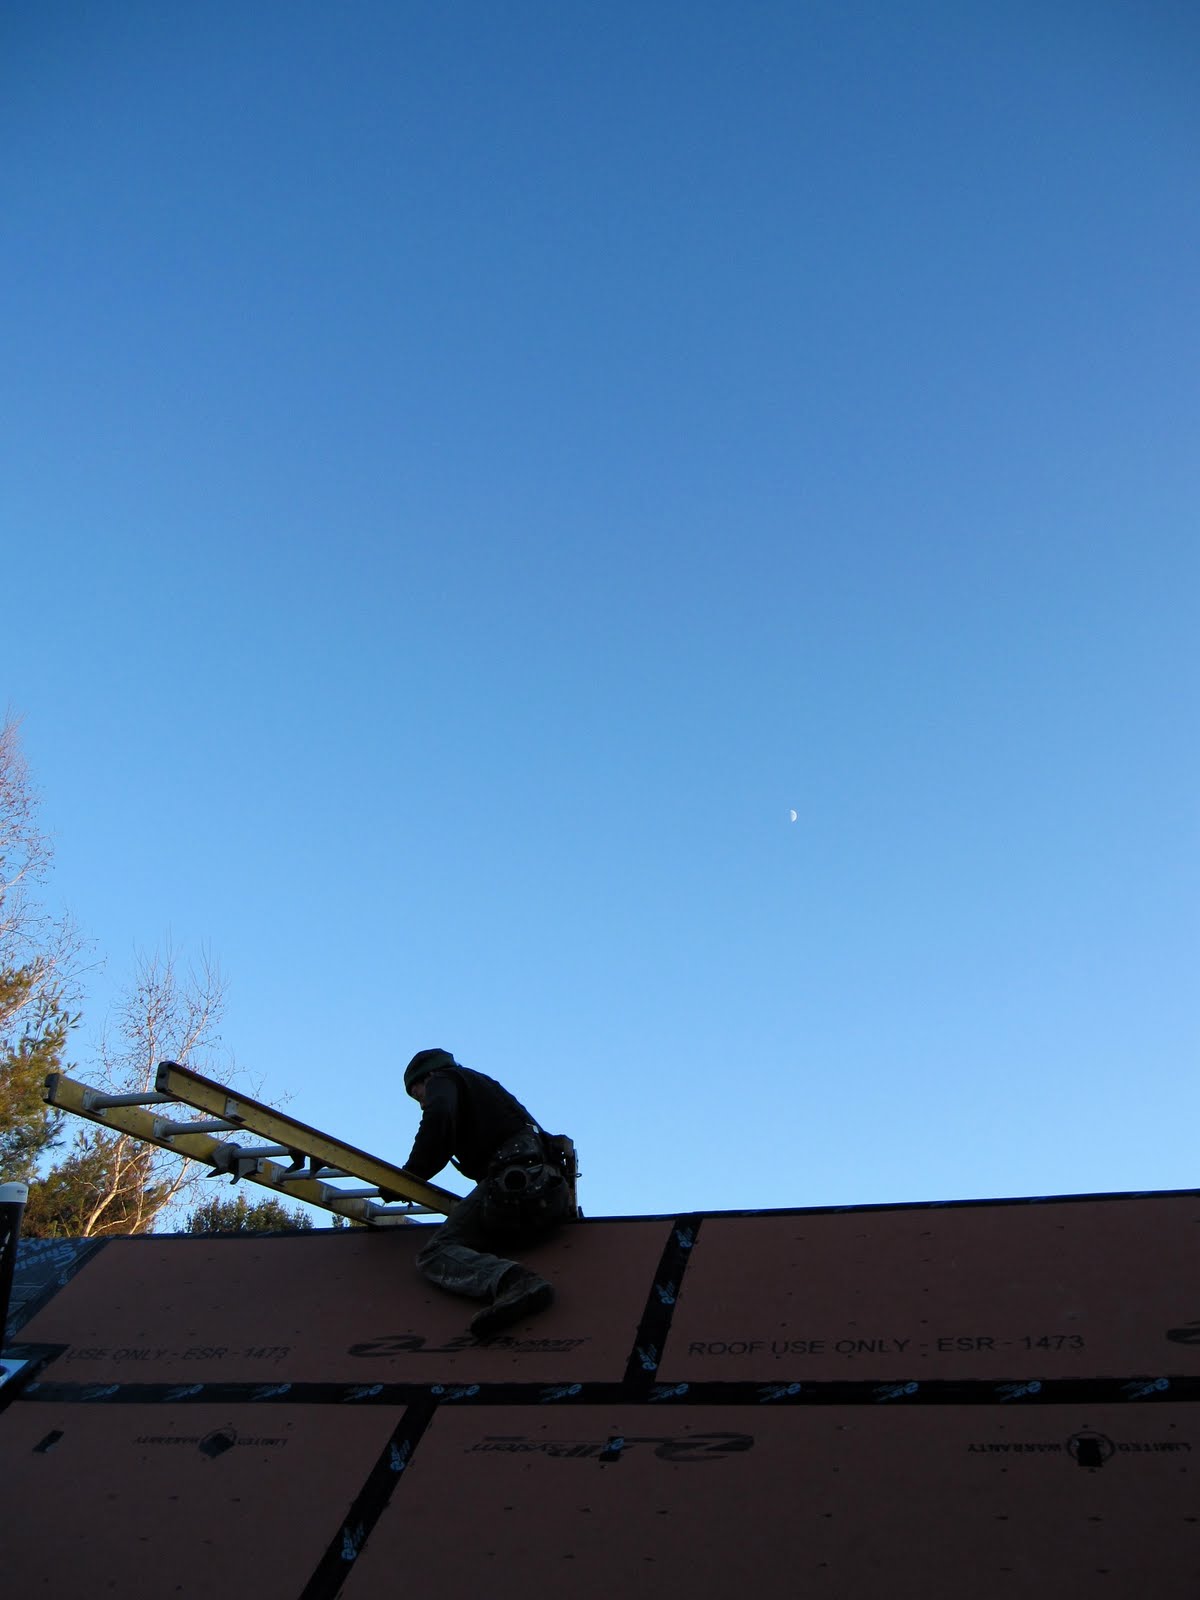
Upcoming: The electrical panel goes in; the roofers come to install the standing seam roof; Joe and I begin building in our secondary perimeter walls along the inside of the house.

Stay tuned...

Wednesday, November 25, 2009

Onwards...


We've been wrapping up some odds and ends as we pause for Thanksgiving.

I cut the rest of the star pattern in the porch roof, which we then covered with (painted) tar paper. The effect is definitely diminished, which I'm kinda bummed about, but I'm glad they are there nonetheless. I wish I could think of some way to have them shine without having a translucent roofing material. Any ideas?

We cut holes for three vent pipes that pass through the roof as well as the stovepipe for the wood stove. The stovepipe will stand higher then it is shown in the photo when we add another segment from below and push it up and out a few more feet. We also taped up a couple of leaks revealed by a recent rain and added some more ice and water shield in the roof valleys for a bit of added security against future leaks.

To my satisfaction we engaged in a bit of materials management. Back a couple of months ago I ordered the wrong kind of rigid insulation for the basement. Its been sitting down there waiting to be returned for a long time, so we finally hauled it all out and had the lumber yard take it back, along with various other materials that we don't need. We moved the remaining 6x6's that will be needed for retaining walls on either side of the basement hatchway to near where we'll need them. That has opened up some space around the house that starts to let us feel the building as an entity on its own.

Today I spent the whole day cleaning up, organizing lumber stacks, gathering tools, clearing clutter, stacking rocks, separating and storing burnable lumber, sweeping, etc.... It felt really good to take care of all this stuff. It puts a little order and polish to our hard work.

Nancy's parents are coming for a post-Thanksgiving visit and I'm excited to show them our work. Before they get here I want to cut out a hole to get to the second floor from inside. As it is now its a little high climbing from the outside. From the inside it'll be an easy climb.

The weather continues to be generous to us, for which I am grateful

Friday, November 20, 2009

I'd like to lay my weary bones tonight, On a bed of California stars


Joe and I wrapped up the rest of the porch roofing yesterday under continuing balmy November clear skies. We decked the roof with alternating 1x6 and 1x1 runs of rough sawn material. We could have just made it easy and done the whole thing in 1x6. but that woulda been boring and I find it so compelling to take some more time to make it interesting when I see the opportunity.
What this means is, when you look up from the porch, you'll see a wide-narrow-wide-narrow pattern of planking that repeats left to right all the way up. You'll notice this pattern in the photos.

This afternoon not only did I make stars, I saw stars...

To make the porch detail even that much more fun, today I spent the afternoon cutting a star pattern into the roof. Our original plan was to have translucent roofing material which would allow light through the star cut-outs, but somewhere along the line we decided that it would look a little less attractive to have semi-clear corrugated plastic as the roofing material over this one portion of the house. The drawback is that when the finished roof goes on over these stars, light will not shine through, so they'll be less apparent. What I might do is paint the underside of the tar paper which we'll put down before the metal roof is installed. That way there will at least be some brightness on the surface at the top of the cut-out. We'll see these when we are in the kitchen doing dishes.

Half of the fun of this whole house project is the opportunity to make little details like this happen. It would pain me deeply not to be able to do this. You could go and paint some stars on the underside of your porch roof if you wanted -- and that would be fine, but how much cooler is it to have them built-in as a part of the building. Paint fades, cut-outs are there for the long haul.

The bit about seeing stars... I took a good bonk on the ol' cognator this afternoon that drew more blood than you'd guess and sort of put me out for an hour or two. I think I'm all better now, but it doesn't look that way to see the notch on my head.

Saturday, November 14, 2009

The Porch Roof


On Friday we began work on the porch roof. In designing the house I'd done some basic dimensioning to make sure everything would fit as it needs to, but beyond that figured we'd work out the details when we got to it. Well, now we are at it and Joe and I spent some time setting up a mock-up of the post and rafter to make sure we liked the height. I had drawn the posts at 8' and thats what we set up at first but it was immediately obvious that that would be too high. I chopped off about a foot on the post height and that seemed better. We screwed the parts into place and I had Nancy feel it out with me and we decided that what we'd set up felt about right.

On Monday we'll set about shaping the posts, beam and then setting up the rafters, which Joe cut Friday afternoon. Like the roof on the main house, there's a certain level of finish detail which will make this take a bit of time, but I think for the most part it'll fall together pretty easily.

Friday, November 13, 2009

The roof is done!


After a long effort we finally finished the roof on Wednesday!

This means that the house is dried in, which is a major milestone in the house building process. Before we can completely be done on the roof we have to cut holes for the various vents that come through with what are called boots, which are the sleeves that the vent pipes pass up through. To celebrate, Nancy, Joe, and I went out for dinner at the Den and raised our glasses "to the roof!"

Sally and Silas dropped by to say hi and it turns out that although the roof is cool, Silas is really what everybody wanted to check out. Even Motion.

Yesterday we worked most of the day on the rafter ties. This started off with a little consultation amongst the future homeowners about the height they should be placed at. I designed them to be installed at 7 feet off the floor. Joe and I put a few in at this height and we all had this feeling that it was just a little low, so yesterday morning Nancy and I discussed it and decided that it was worth pulling out the ones we'd already installed and moving them up about three inches. Joe and I spent the rest of the day putting them in and at the end of the day it was clear that moving them up that 3 inches made all the difference. It was worth it to back up a little and re-adjust.

Tuesday, November 10, 2009

Snapshots


Today was another day of great weather and we got as much done as we could, leaving part of tomorrow to finish up the roof. Yes!

We had some visitors today.

Monday, November 9, 2009

Roof roof roof

We spent the better part of last week doing all the trim/rough sawn edge work around the perimeter of the whole roof. This includes the drip edge, the roof trim, the ice and water shield and the visible rough sawn overhang sheathing. This is labor intensive and, once done, sets us up to install the plywood over the main part of the house and run right up the roof in short order.
This morning we polished off the very last of the pre-plywood work and then installed a few rafter ties. The rafter ties serve two purposes: mated to the rafters they complete the triangle that becomes the structural unit of the roof, tying the rafters together so they resist spreading from the downward force of gravity; their other purpose is to create a lowered ceiling effect on the second floor while still providing an open view up to the cathedral ceiling. There will be rafter ties on each set of rafters all the way down, so they will act in effect like a loft floor above the second floor. The ties need to be placed within the lower third of the length of the rafter which puts them about 7 feet above the floor.

I am particularly excited about the creative possibilities created by this element of the house design. We can hang things from them, create a loft on top of them, put lights in, on, or around them--whatever we like. They are going to give the second floor a playful and spacious quality that feels great to me. We only installed a few of them today. Once we've got the plywood up on the roof we'll put the rest up.


The weather today was an astounding 65 degrees. It was the first day in weeks that we actually felt hot. I kept joking with Joe that it was too much for me to take and that I thought we'd have to quit early. Given the fact that we are working up high and you have a lot to manage at the same time, its a blessing to not be fighting the cold at the same time.

Tuesday, November 3, 2009

Give us a couple of days...


We're hard at work on the roof and making progress. We spent much of today working out the trim details around the dormer; that stuff takes time. We have high hopes for lots of progress tomorrow and I think we just may get this thing roofed by Friday.

Now to sleep...

Monday, October 26, 2009

The Roof

Adam


Joe and Adam in the dormer preparing to put on the shed rafters


Me, installing a lookout


The house with almost all the framing in place, save the shed dormer rafters


Adam, having just installed Joe's expertly cut rafters that form the shed dormer roof


Sunday we received an email from our friend Adam wondering if we'd like a little help. Adam lives down in western Massachusetts and wanted to come up our way for a concert in Burlington and offered to help out while staying at our place.

Of course we said "Great!"

So today Adam showed up just around lunch yesterday and he joined Joe and I as we continued closing in on completing the roof framing. Today all three of us went at it again and completed the framing. This means we still have to install the roof trim and rough-sawn perimeter sheathing before we actually sheath the whole thing, but Adam's help is just what we needed to move us very close to this important milestone. The three of us made as much hay as possible and got a lot done. I was just struck with a feeling of gratitude for the efforts of both these guys helping to make our dream become reality. (It also occurred to me that the three have contra dancing as a common bond between us, among other things, and, with Nancy nearby in the yurt, that there was an uncanny density of contra dance talent present on site today.)

Joe is headed to Louisiana this weekend for a Cajun dance event on Friday and Nancy and I are headed to a couple of events in Massachusetts Thursday afternoon, so we are temptingly close to closing in the house. I suspect it'll happen early next week, but we'll just have to see.

Wednesday, October 21, 2009

Main Roof rafters


This week we've been working on the roof rafters over the main part of the house. We've got a few common rafters in (common rafters are the full length typical rafter that's not altered or modified in any way) and today put the valley rafter in place. The valley rafter is the crucial junction at the intersection of the two roof planes. Its a non-intuitive piece of wood and has a bunch of cuts. Joe and I discussed it for a bit this morning and then I let him puzzle it out. The thinking and planning takes way more time then the actual cuts, and to Joe's credit, it came out dead nuts. There are other complicated pieces to go in, but the valley rafter is the biggie.

Meanwhile I've be shaping, priming, and painting the fly rafters that'll project off the main roof gable ends. 34 of them in total. Its a repetitive process, but it's fun to get into production mode and work out the most efficient sequence of actions to mark, cut, shape, move, trim, prime and paint each piece in a series. Tomorrow morning these will start being installed in conjunction with more of the rafters.