Showing posts with label lookouts. Show all posts

Tuesday, November 17, 2009

Porch Roof part III - Assembly!


Today was fun.

To begin the day, we had almost all the parts that will be the roof over the porch cut and ready to go. On top of that we had the warm glow of the morning sun to take the November chill off.

When we were ready, we cleared the deck off, attached the little flat bases to each of the three posts and then stood them up.

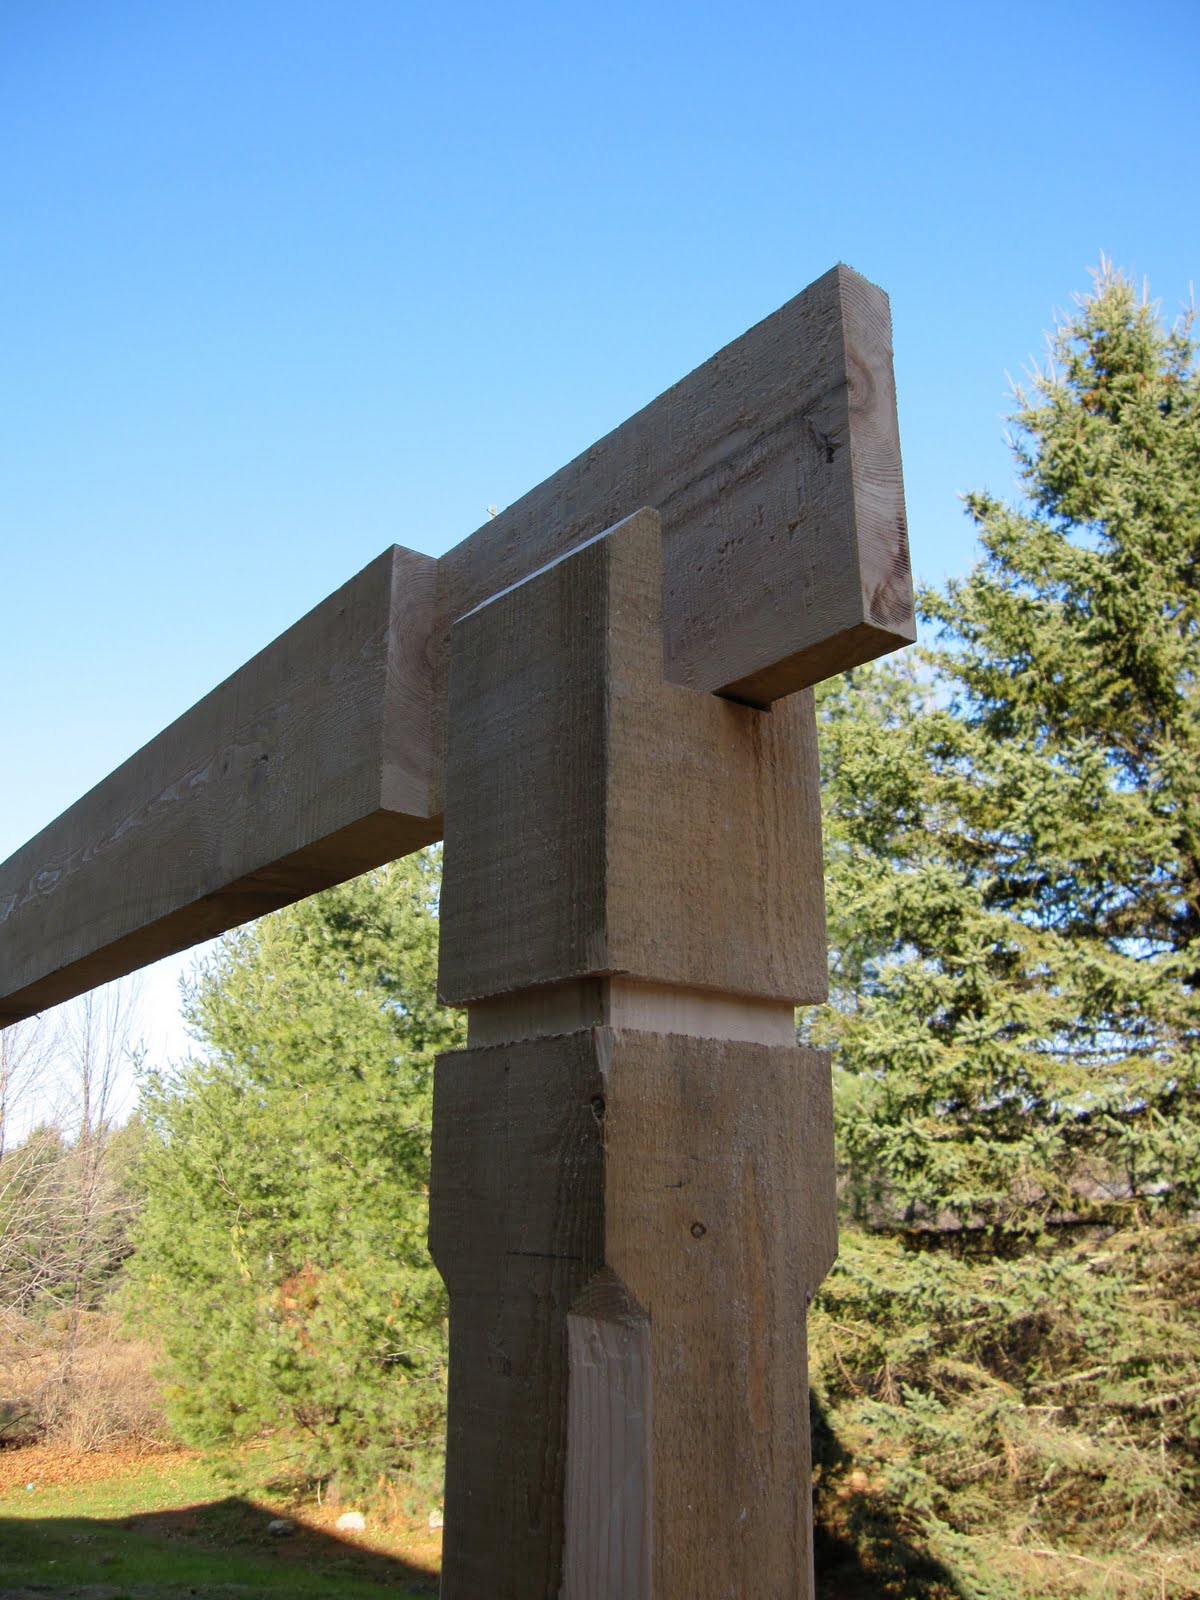
Next came the beam that connects the posts. The beam sits in the pocket at the top of each post, and was installed in two parts with a lap joint over the center post, shown in the second photo.

After the beam came the rafters, and when they were all attached, we installed the lookouts at the two end rafters.

Once we had everything squared away with the post-beam-rafter assembly, we still had some time left in our day, but the sun had already set and the last glow was quickly fading. Having initially decided to call it a day, we rallied, pulled out the halogen lights, and put the trim on.

To finish off this little project we have the put the rough-sawn sheathing on, the last bit of trim and drip-edge and we're good. Oh yeah, we're going to peg some of the connections as well between the posts and beam.

Porch Roof Part II - Shaping the timbers


On Friday we made the rafters for the porch, and yesterday we shaped the posts, beam, lookouts, and post bases. This is a good deal of somewhat careful work because everything will be visible once the porch roof is assembled. There is a lot of detail as well, so there was a lot of time just making all the cuts and working out the arrangement of parts.

Above are some photos of us shaping the lumber. The next post will show the assembly.

Wednesday, October 28, 2009

Shed dormer and Lookouts

Nancy's dad Lou wrote with a couple of questions. The first question was in regards to the shed dormer. The dormer is the space created by the bit of roof that extends out from the main roof at a lower pitch, allowing for more floor space inside and room for a window looking out to the west. The photo shows a nice profile view of the dormer. Its a "shed" dormer because of the style of roof--a flat surface at a low pitch.The shed-style dormer

Another view showing the dormer

Lou's next question was about the lookouts. The photo below shows them: they are the spiky things coming off the end of the gable wall and will allow the roof to extend beyond the edge of the building. In other words, they are the structural members of the roof overhang and intersect perpendicularly with the main roof rafters. You might notice there are still two lookouts we need to install on this end of the building. Its also worth mentioning that I was mistakenly calling the lookouts "fly rafters" for a while--I now stand corrected.
A view of the lookouts

Today was a bit of a slow day for us. It was raining on and off throughout the day. Our main project was cutting and installing the blocking between the roof rafters. The photo below shows the blocking installed in all but one of the rafter bays. This essentially serves the purpose of extending the wall up through the rafters to where the roof will be. On something of a whim, I decided to install them so that they are at a 45 degree angle to the top of the wall, which makes them tilt out rather then come straight up through the rafters.


Blocking being installed