Showing posts with label porch. Show all posts

Monday, October 11, 2010

Paint, steps, and cabinets


I was away this weekend on a brief trip out west, which left me a little groggy this morning, but I am beginning work on our kitchen cabinetry project, which means at this juncture finalizing our plan.

Nancy spent some time over the weekend trying out test colors around the house. They need a rolled-on second coat before we can really say much, but we're making progress.

Joe is nearing completion of steps to the porch and a stair/landing unit at the west end doorway. It is my expectation that we'll eventually redo the stairs and steps in stone, but for now we need to get something in place, so we're doing a sort of acceptable-but-not-fancy solution for now.

Wednesday, November 25, 2009

Onwards...


We've been wrapping up some odds and ends as we pause for Thanksgiving.

I cut the rest of the star pattern in the porch roof, which we then covered with (painted) tar paper. The effect is definitely diminished, which I'm kinda bummed about, but I'm glad they are there nonetheless. I wish I could think of some way to have them shine without having a translucent roofing material. Any ideas?

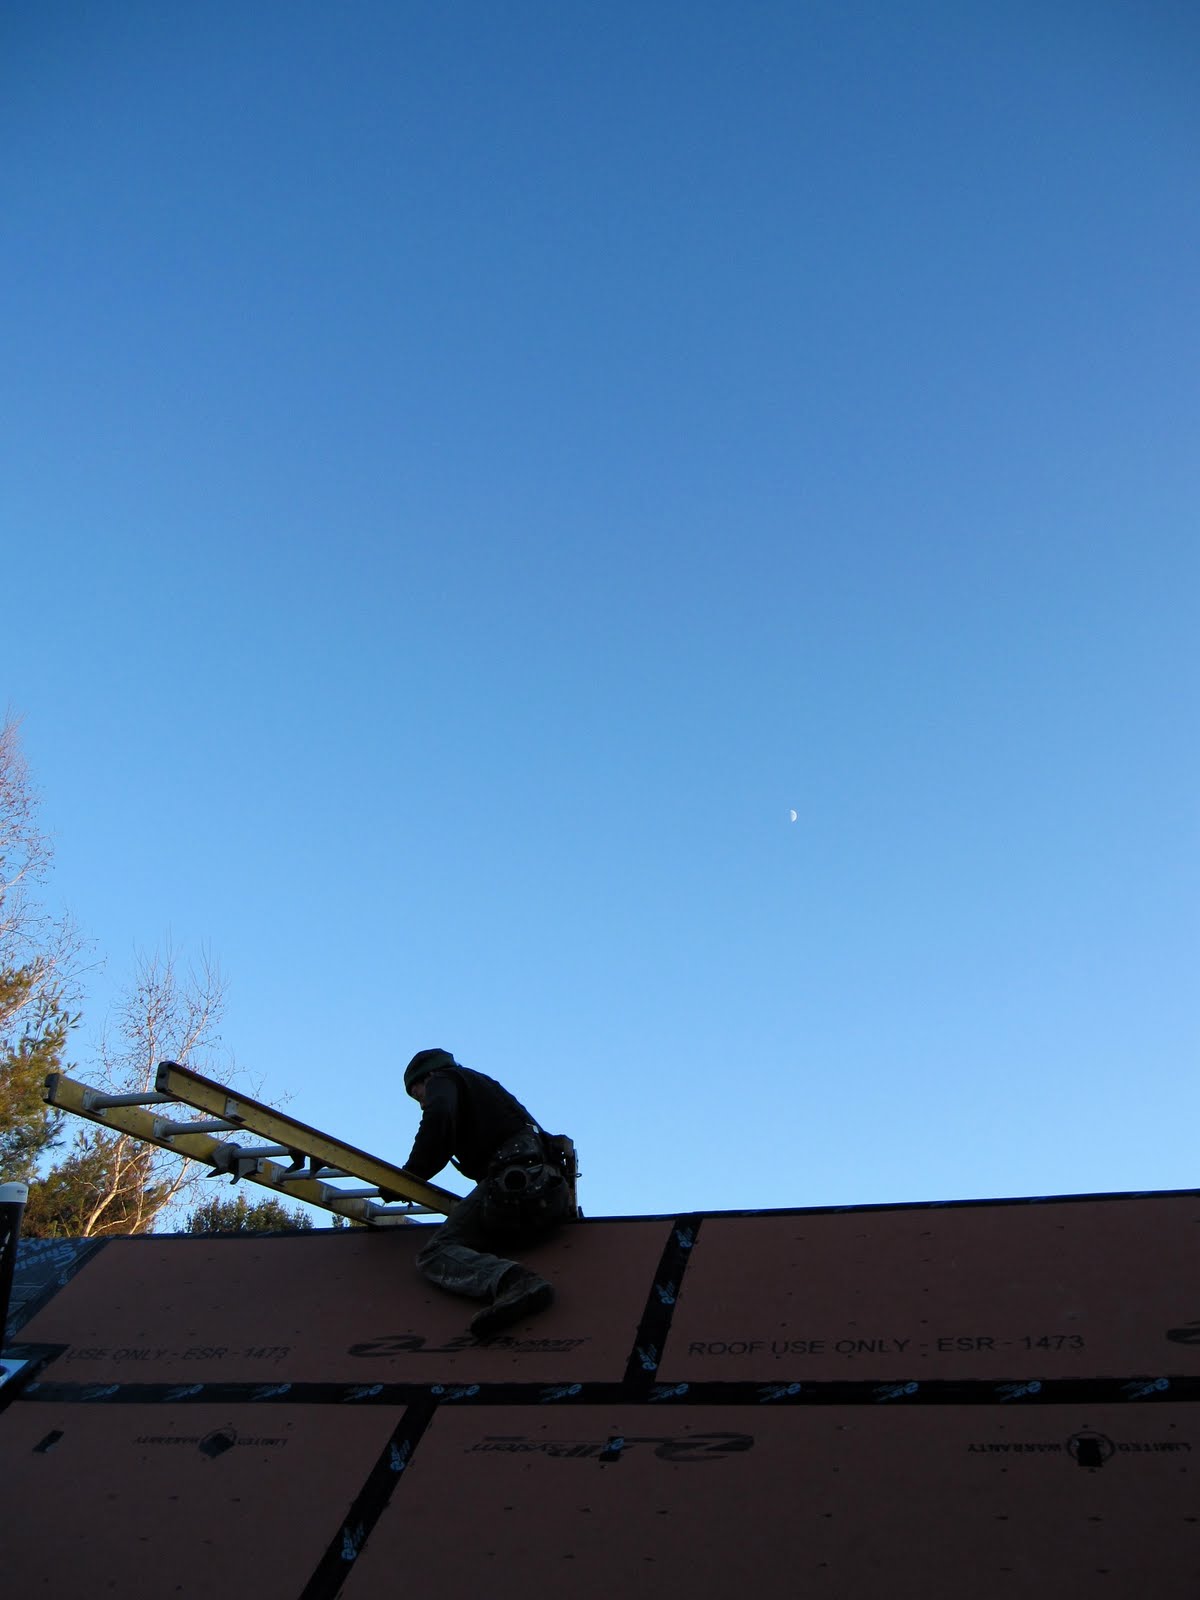
We cut holes for three vent pipes that pass through the roof as well as the stovepipe for the wood stove. The stovepipe will stand higher then it is shown in the photo when we add another segment from below and push it up and out a few more feet. We also taped up a couple of leaks revealed by a recent rain and added some more ice and water shield in the roof valleys for a bit of added security against future leaks.

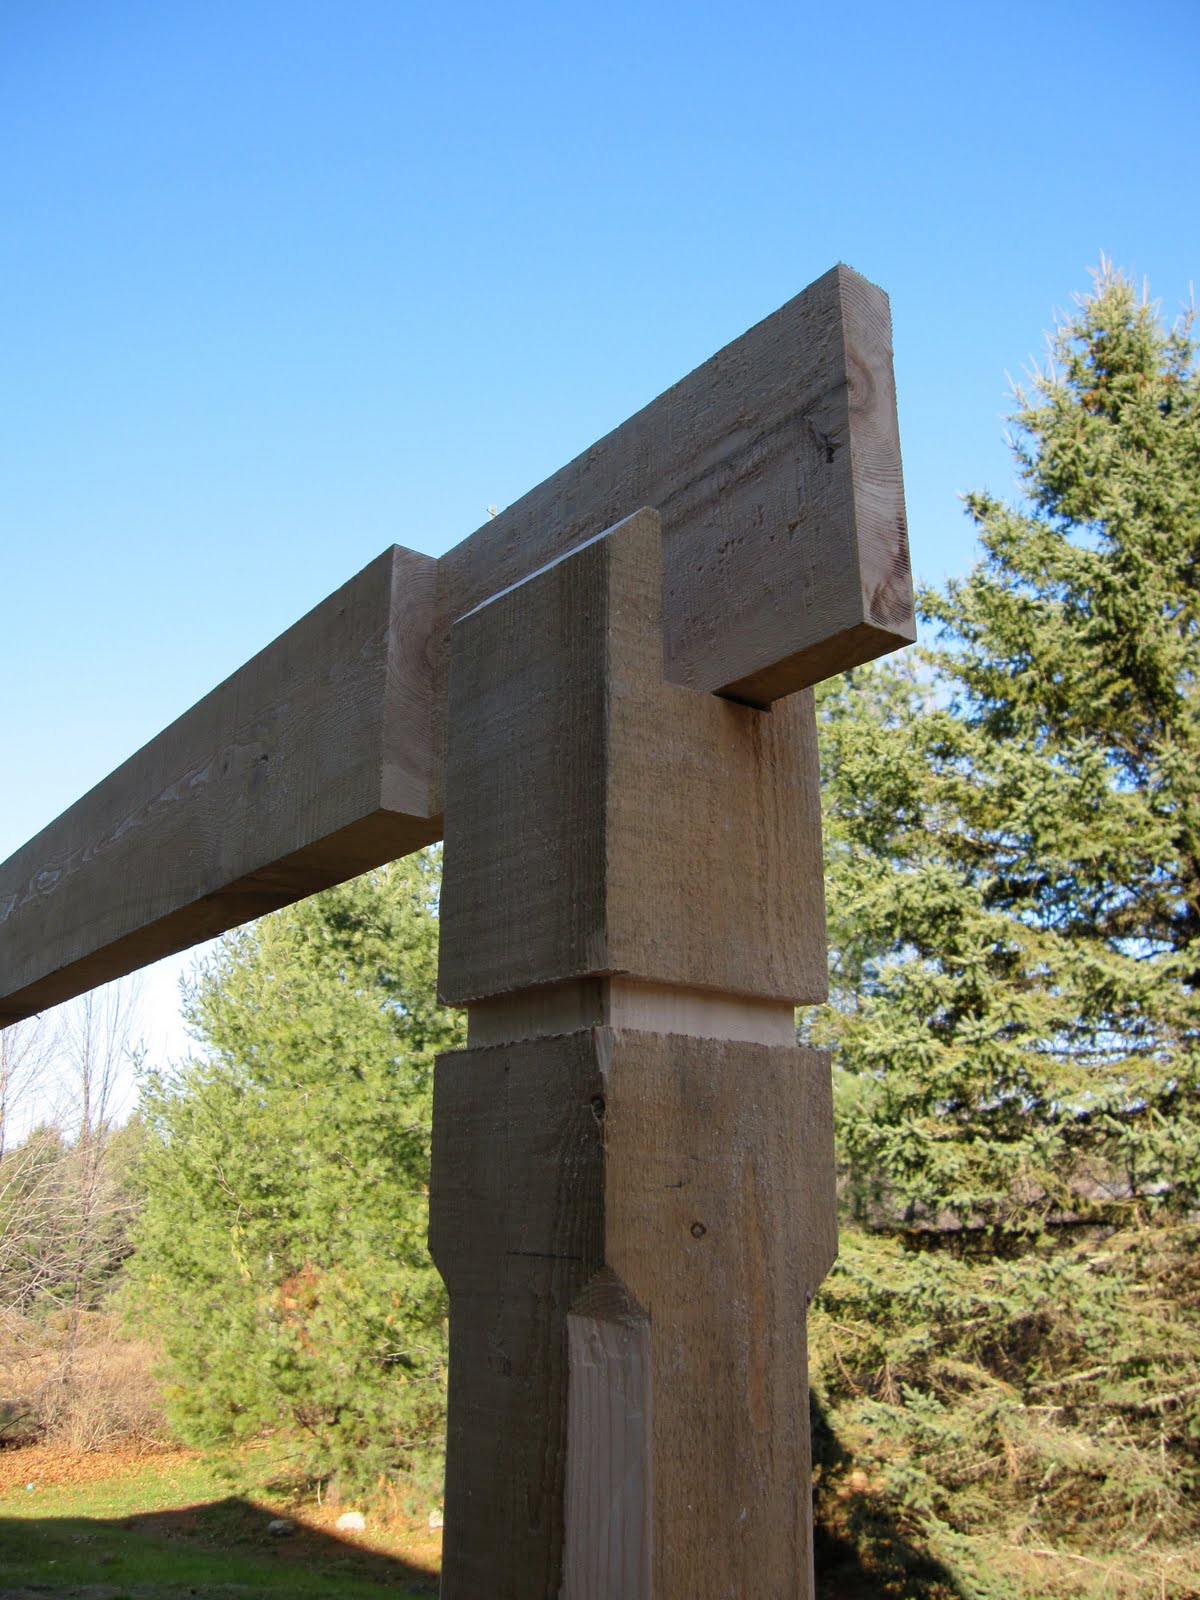
To my satisfaction we engaged in a bit of materials management. Back a couple of months ago I ordered the wrong kind of rigid insulation for the basement. Its been sitting down there waiting to be returned for a long time, so we finally hauled it all out and had the lumber yard take it back, along with various other materials that we don't need. We moved the remaining 6x6's that will be needed for retaining walls on either side of the basement hatchway to near where we'll need them. That has opened up some space around the house that starts to let us feel the building as an entity on its own.

Today I spent the whole day cleaning up, organizing lumber stacks, gathering tools, clearing clutter, stacking rocks, separating and storing burnable lumber, sweeping, etc.... It felt really good to take care of all this stuff. It puts a little order and polish to our hard work.

Nancy's parents are coming for a post-Thanksgiving visit and I'm excited to show them our work. Before they get here I want to cut out a hole to get to the second floor from inside. As it is now its a little high climbing from the outside. From the inside it'll be an easy climb.

The weather continues to be generous to us, for which I am grateful

Friday, November 20, 2009

I'd like to lay my weary bones tonight, On a bed of California stars


Joe and I wrapped up the rest of the porch roofing yesterday under continuing balmy November clear skies. We decked the roof with alternating 1x6 and 1x1 runs of rough sawn material. We could have just made it easy and done the whole thing in 1x6. but that woulda been boring and I find it so compelling to take some more time to make it interesting when I see the opportunity.
What this means is, when you look up from the porch, you'll see a wide-narrow-wide-narrow pattern of planking that repeats left to right all the way up. You'll notice this pattern in the photos.

This afternoon not only did I make stars, I saw stars...

To make the porch detail even that much more fun, today I spent the afternoon cutting a star pattern into the roof. Our original plan was to have translucent roofing material which would allow light through the star cut-outs, but somewhere along the line we decided that it would look a little less attractive to have semi-clear corrugated plastic as the roofing material over this one portion of the house. The drawback is that when the finished roof goes on over these stars, light will not shine through, so they'll be less apparent. What I might do is paint the underside of the tar paper which we'll put down before the metal roof is installed. That way there will at least be some brightness on the surface at the top of the cut-out. We'll see these when we are in the kitchen doing dishes.

Half of the fun of this whole house project is the opportunity to make little details like this happen. It would pain me deeply not to be able to do this. You could go and paint some stars on the underside of your porch roof if you wanted -- and that would be fine, but how much cooler is it to have them built-in as a part of the building. Paint fades, cut-outs are there for the long haul.

The bit about seeing stars... I took a good bonk on the ol' cognator this afternoon that drew more blood than you'd guess and sort of put me out for an hour or two. I think I'm all better now, but it doesn't look that way to see the notch on my head.

Tuesday, November 17, 2009

Porch Roof part III - Assembly!


Today was fun.

To begin the day, we had almost all the parts that will be the roof over the porch cut and ready to go. On top of that we had the warm glow of the morning sun to take the November chill off.

When we were ready, we cleared the deck off, attached the little flat bases to each of the three posts and then stood them up.

Next came the beam that connects the posts. The beam sits in the pocket at the top of each post, and was installed in two parts with a lap joint over the center post, shown in the second photo.

After the beam came the rafters, and when they were all attached, we installed the lookouts at the two end rafters.

Once we had everything squared away with the post-beam-rafter assembly, we still had some time left in our day, but the sun had already set and the last glow was quickly fading. Having initially decided to call it a day, we rallied, pulled out the halogen lights, and put the trim on.

To finish off this little project we have the put the rough-sawn sheathing on, the last bit of trim and drip-edge and we're good. Oh yeah, we're going to peg some of the connections as well between the posts and beam.

Porch Roof Part II - Shaping the timbers


On Friday we made the rafters for the porch, and yesterday we shaped the posts, beam, lookouts, and post bases. This is a good deal of somewhat careful work because everything will be visible once the porch roof is assembled. There is a lot of detail as well, so there was a lot of time just making all the cuts and working out the arrangement of parts.

Above are some photos of us shaping the lumber. The next post will show the assembly.

Saturday, November 14, 2009

The Porch Roof


On Friday we began work on the porch roof. In designing the house I'd done some basic dimensioning to make sure everything would fit as it needs to, but beyond that figured we'd work out the details when we got to it. Well, now we are at it and Joe and I spent some time setting up a mock-up of the post and rafter to make sure we liked the height. I had drawn the posts at 8' and thats what we set up at first but it was immediately obvious that that would be too high. I chopped off about a foot on the post height and that seemed better. We screwed the parts into place and I had Nancy feel it out with me and we decided that what we'd set up felt about right.

On Monday we'll set about shaping the posts, beam and then setting up the rafters, which Joe cut Friday afternoon. Like the roof on the main house, there's a certain level of finish detail which will make this take a bit of time, but I think for the most part it'll fall together pretty easily.

Wednesday, September 23, 2009

The porch deck


Joe has pretty much been managing building the porch deck, which leads into the mudroom/kitchen area. I've been off painting and taking care of other little projects while we wait for the rough sawn order to show up, which it did today.

The deck: We set the concrete footings and hung the ledger on the wall at the end of last week. This week Joe put the support beam in place, and then moved onto building some nice flashing that goes over the ledger. After that he placed the joists, installed the metal cross bracing between the joists and then laid in the tight-knot red cedar decking. Eventually there will be finished trim that will cover the exposed pressure treated under structure.

With the decking in place, Joe routed a nice rounded bevel around the perimeter and then we gave it a coat of clear deck sealant. It looks great. Sometime in the near future we'll install the posts and build the roof, but not until the main house roof is done. Stay tuned.

Saturday, September 19, 2009

The Week in Review


With good weather continuing, Joe and I completed building and sheathing the second floor deck of the main part of the house. We haven't built the floor over the kitchen yet because we decided to build it a bit differently then originally conceived which requires delivery of a bunch of rough sawn lumber. So, we're building up to the point that we can until that delivery happens and then we'll build the rest of the second floor.

In the mean time, we spent time laying out the gable end walls on the deck full size with chalk lines. In other words, we drew the gable walls on the floor as a means of determining our stud lengths where they meet the roof rafters.

We then cut all our wall parts for both walls, north and south. We can't complete these walls until the rough sawn lumber order shows up, so we moved onto other projects.

To keep busy we installed an important structural steel post in the basement, finished building the stairs down the hatch to the basement, and installed the Bilco bulkhead hatch that goes over the stairs. With these complete we started on the porch, located off the kitchen end of the house. We dug, set, and poured the concrete piers and then installed the ledger that will carry the joists.

It was a productive week and we are well positioned to put up the roof efficiently once the rest of our materials are on hand.