Showing posts with label blocking. Show all posts

Friday, May 28, 2010

The week in review


So, Joe was here this week and provided both great work but also a sense that we're getting somewhere with this whole project. I've been doing my thing for a while and it helps to have Joe in on the effort. We made headway.

Joe was working on the second floor, building the headwall that defines where our bed will be and then the closet. So far we like the arrangement and think we'll stick with it.

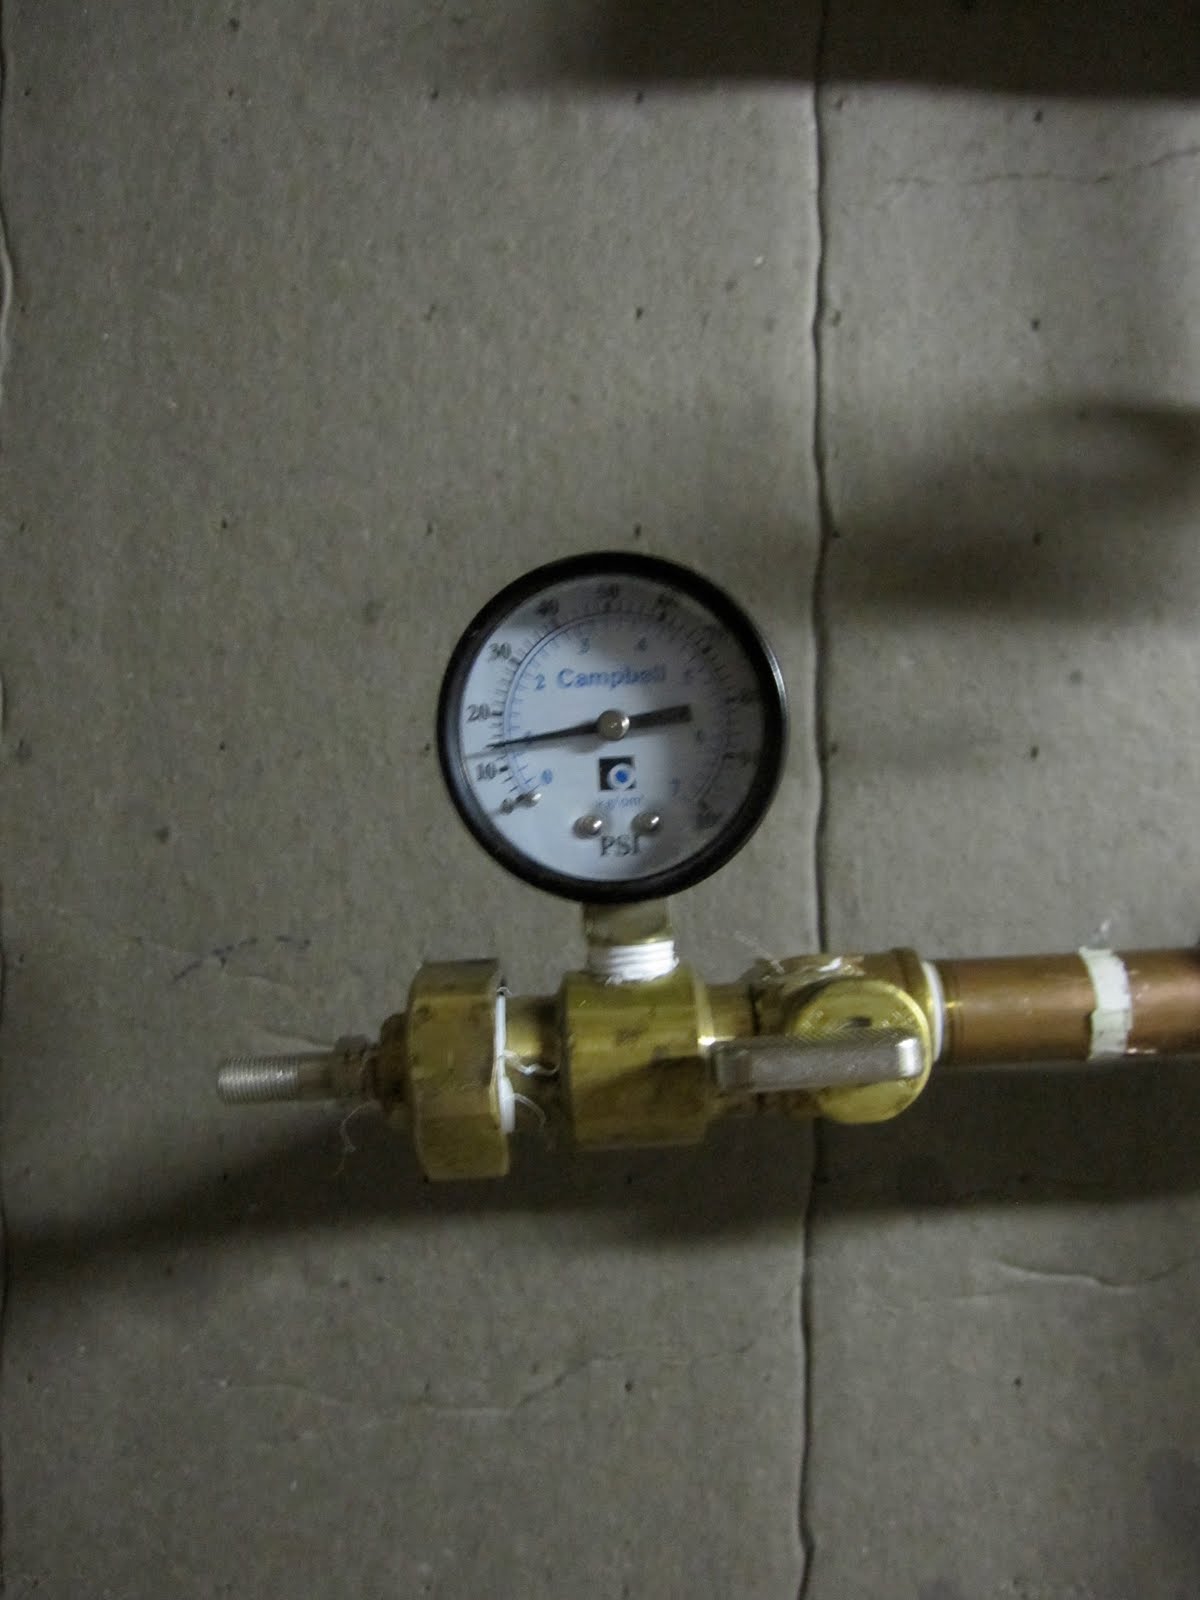
I've been tying up the loose ends with the water supply. At the point, with one minor exception, all the water lines to all our plumbing fixtures are in. The fun part of this is pressure testing the system. This is sort of like pumping up a bike tire except that the inner tube in this case is all of the water lines running through the house. Like a bike tube, you hook up a air pump and pump up the system to a given level and then look to see if the gauge stays constant. If it does not, there is a leak and you need to go around a dab each fitting connection with some soap-like stuff and see if it bubbles.

We found a leaky connection right off the bat because I'd forgotten to crimp one of the fittings. I crimped it and presto, the system held air. After a couple of hours I went to check again and the pressure had dropped from about 15 psi to 10 or so. I then went around doing the bubble check and eventually found a small leak near the pressure gauge. I re-installed it, checked again and found no bubbles. I re-pressurized the system and will take another look in the morning. This is cool stuff. If the system holds air, it'll hold water.

Sunday, November 29, 2009

Guest Carpenter


This holiday weekend we were graced with a little extra help. Nancy's dad Lou declared before visiting this weekend that he was interested in hammering a nail in the house. Before getting to the nailing bit we found a suitable location for our bird feeder sculpture and put it in the ground. Nancy said it was slightly premature to actually put up any bird feeders, but at least we have it ready.

From there, we went onto the nail thing.

We are done with the significant nail-intensive aspects of the project --at least for the time being-- but after looking around a bit I noticed there was some blocking that still needed to be installed. We got out the needed tools, cut up some pieces to fit, and then Lou went to town with the air gun. Having only wanted to put in one nail, he was ended up putting in maybe 30. Air guns are like that, they make it easy.

Thanks to Lou for some well installed blocking and a carefully considered location for the bird feeder!

Wednesday, October 28, 2009

Shed dormer and Lookouts

Nancy's dad Lou wrote with a couple of questions. The first question was in regards to the shed dormer. The dormer is the space created by the bit of roof that extends out from the main roof at a lower pitch, allowing for more floor space inside and room for a window looking out to the west. The photo shows a nice profile view of the dormer. Its a "shed" dormer because of the style of roof--a flat surface at a low pitch.The shed-style dormer

Another view showing the dormer

Lou's next question was about the lookouts. The photo below shows them: they are the spiky things coming off the end of the gable wall and will allow the roof to extend beyond the edge of the building. In other words, they are the structural members of the roof overhang and intersect perpendicularly with the main roof rafters. You might notice there are still two lookouts we need to install on this end of the building. Its also worth mentioning that I was mistakenly calling the lookouts "fly rafters" for a while--I now stand corrected.
A view of the lookouts

Today was a bit of a slow day for us. It was raining on and off throughout the day. Our main project was cutting and installing the blocking between the roof rafters. The photo below shows the blocking installed in all but one of the rafter bays. This essentially serves the purpose of extending the wall up through the rafters to where the roof will be. On something of a whim, I decided to install them so that they are at a 45 degree angle to the top of the wall, which makes them tilt out rather then come straight up through the rafters.


Blocking being installed

Tuesday, September 8, 2009

First Floor Complete

Monday Joe and I raised the last wall of the first floor and today we buttoned up the loose ends, including blocking in the basement, completing the wall sheathing, and taping the remaining zip seams.

Tomorrow morning we start on the second floor, first with the LVL beam and then hanging floor joists, just as we did on the first floor deck.

This photo shows the completed walls, insofar as I can capture it from the garage roof.

This shows the view over the house. Joe and I will get to experience this as we start work on the second floor.