Thursday, December 5, 2013

Hood Hook Up

The completed project. We're liking the effect of the lowered hood

Long on our list of things to do to complete the house is hooking up our kitchen vent hood. I've dragged my feet on doing this for a couple of reasons: First, I always picture the vent duct as a big hole in our house where all sorts of energy loss will occur. Secondly, not having the hood hooked up has not seemed to cause much trouble in terms of either air quality or residual cooking build-up.

The opening through the wall

I mentioned this during a presentation I recently made to the Super Insulation class at Yestermorrow Design/Build School.  It was suggested by John, one of the instructors, that I really should complete this project because it has notable effects on home air quality. Just because I'm not aware of it doesn't mean its not there.

This shows the hood before I lowered it. The duct connections are partially in place

The hood with the ducting complete and the hood lowered

Feeling nudged in a way I needed to be, I spent the next day completing the hook up. This was straightforward since I'd installed the main parts during the construction of the house. The remaining work was completing the duct connection from the wall to the hood itself. Taking this on became an opportunity to lower the hood about ten inches to better capture the cooking smoke, steam, and particulate. When we first were putting the kitchen together I was concerned that the hood would look awkward suspended down in front of the window, so I hung it at the level of the top casing and it has sat there since, acting primarily as a light source for cooking.

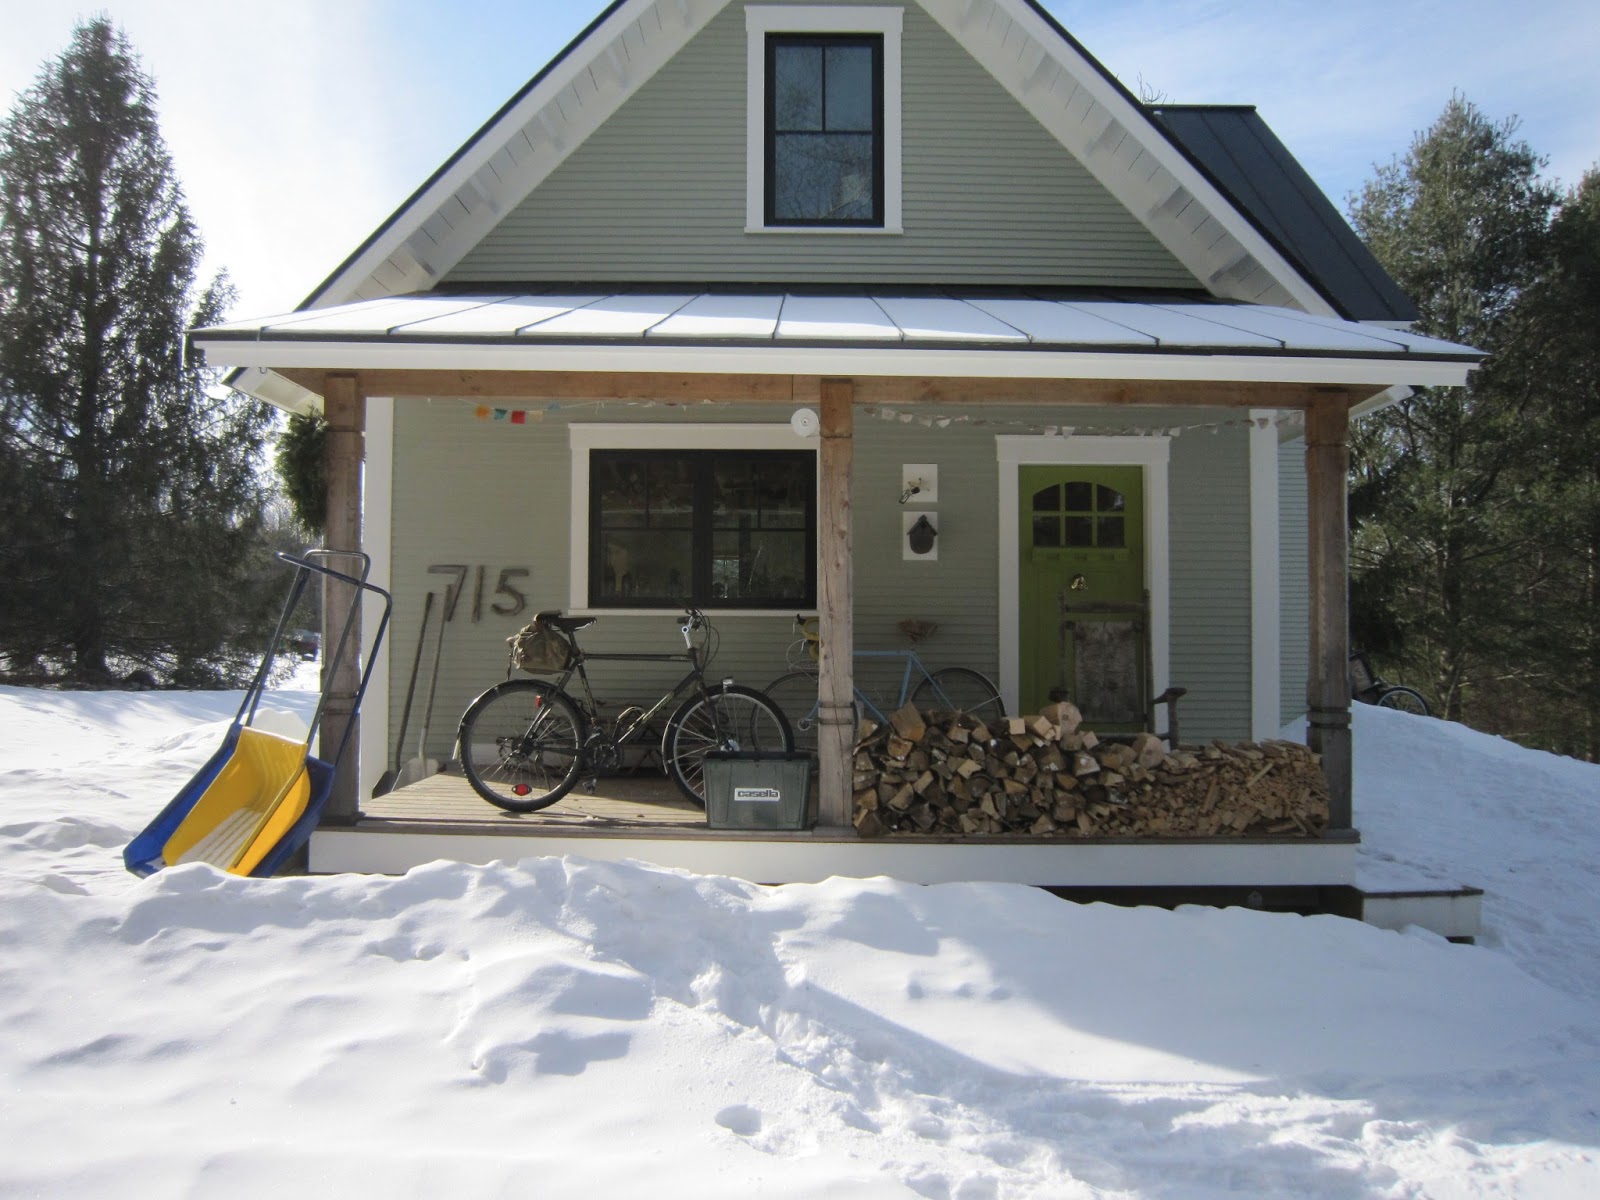
The duct vent on the outside of the house. Its neatly tucked away, so you really need to look for it to see it. 
Time will tell if its going to create residue on the outside of the house

To our satisfaction, lowering the hood has had the nice effect of making things cozier in the cooking area. It creates a lowered ceiling and doesn't detract from the overall feel or the view out the window.

The hood is still a little higher than it should be, so I will work on it some more sometime soon, but for the moment I am glad to have the whole thing operating. We've been using it whenever we cook and I find myself suddenly sensitive to the potential harm of particulates in the air.

Incidentally, the hood came equipped with incandescent bulbs and this has always bugged me. I've wondered if I could replace the bulbs with fluorescents but never got around to checking. To my satisfaction I found it was super easy. I was a little uncertain because the bulbs have candelabra screw bases and I'd never had reason to see if they make fluorescents with them. They do, so it's no big deal. The switch is made.

The hood light with new fluorescent on the left and the stock lamp on the right 

Nance and I also discussed creating a housing to enclose the duct work, so we may make that happen too. I don't mind the metal tube look, but I think I'd enjoy a wooden enclosure as well.

Sunday, December 1, 2013

Numbers


I recently gave a presentation to the Super Insulation class at Yestermorrow Design/Build School about building and living in our house. This presented a convenient opportunity for me to take stock of the building process, consider our experience living in the house so far, and to put together some performance numbers. We've been in the house just under two years and have established a track record for firewood consumption and are starting to get some reliable numbers on our propane and electric costs.

When our home was completed Efficiency Vermont (the state energy conservation organization) tested and evaluated our house for energy performance and determined a HERS number, which was presented as a part of their evaluation. HERS stands for Home Energy Rating System and is the standard methodology for comparing performance across buildings and regions. Many factors go into the rating system, including air-tightness, window performance, efficiency of the appliances, lighting and heating systems, as well as design specs like insulation R-Values and so on. The rating is adjusted for climatic conditions in a given location.

This is a generic chart showing the HERS rating scale. The "This Home 65" has nothing to do with our home.

In the above chart, 100 equals the energy use of a new home built to conventional standards in 2006. This is used as a base line by which to evaluate the spectrum of performance across buildings.  A rating of zero means the house requires no energy at all, while a rating over 100 means the house is sub-par in relation to current norms.

Our home earned a HERS rating of 38, which is a "5 star +" in the star rating shown below.  The scale somewhat curiously goes from 1-5 stars and then has a + category.  (Maybe they needed to add a new category as more efficient homes are being built -- I don't know.)


The HERS rating laid out estimated energy use predictions for our home as follows (calculated in 2011):  
             26.6 MMBtu heat  $990
             10.1 MMBtu hot water  $375
             17.9 MMBtu lights & appliances  $704
             HERS estimated annual energy cost:   $2,188

Based on our actual usage, these are our costs:
           $100-$150/yr firewood
           $750 propane hot water/cooking
           $768 electric

           Our actual annual energy cost:   $1,668

In the nearly two years we've been living in the house, we have only heated by wood. There is the radiant system in place should we ever choose to use it, but for now we like heating by wood; it's easy and feels good.

Although we know from experience that our heating expenses are tiny, it is useful to see them laid out together with the other home energy requirements. We plumbed the house in preparation for installing a solar hot water system, and seeing these numbers is a good motivator for costing out the completion of that project. It would feel good to bring the hot water energy numbers down. 

Sunday, February 3, 2013

Wood Update


 Our stack in November 

Where we were a week or so ago

We did a little wood calculating recently.

Back in November we loaded up 42% of a cord onto the porch, calculated in cubic inches. I remember thinking at the time that we should have loaded up an even 50% so that we'd know where we were once we'd burned through it. In any event, I took a picture back then and just now went back and recalculated based on what we stacked. The calculation from the photo matched my memory of what we figured back then: to get up to a full 50% would mean moving 13 cubic feet of wood (which is easy for us because all our wood it cut to 12") from our long term storage over to the porch. We did this today and here is the remaining portion of a half-cord stacked on the porch.

February 3rd

We won't know for a another good month or so where we'll end up, but it is looking like we'll burn somewhere between one-half and three-quarters of a cord, which would make sense. Last year we burned just about a half cord for the season, but it was a reasonably mild winter.